Just got back from a couple of weeks
in north Wales, and what a beautiful place. We spent most of our time hiking up
mountains and walking the woods, with the occasional dip in the river. The
weather had been kind to us and we even had tow warm sunny days. It was nice to
get away for a bit and not we back it’s back to working the land.
It’s been an interesting growing
season. It’s been really good for growing and it has only just started turning.
So what have we been up to? We’ve been working hard to get our new allotment in
order. The site is about 75m2 but we are trying to secure a further
100 or so m2 for next season. Though we started late in the season
we were still able to harvest a few crops, namely potatoes, beans, pumpkin, a few
tomatoes and lots of perpetual spinach. We started working the plot in late
June and most of the plants went in close to the end of July. This site posed a
few challenges for us. The soil is heavy clay and thus partly waterlogged and
infested with both bindweed and creeping buttercup.
 |
| The allotment in the beginning |
The first step to prepping the plot
was to identify the plants already growing there and where the shaded areas
were. Half of the plot is in shade for the last part of the day, which is not
ideal but still works. After identifying the plants and shaded areas on the plot we
had to examine the soil, which I mentioned was heavy clay. We went away and
came up with a simple design for the site which involved tilling, manuring, and
mulching. It was hard work digging the site, but I felt it was essential for us
to un-compact the soil before we attempted to grow anything. It was hard work
but we managed to loosen the soil and remove most of the troublesome weeds. The
next step was to find lots of manure which is easy to do here. We managed to
secure bags and bags of horse manure from our neighbours and dug that into the
plot together with rotted woodchip, grass clippings, and lots of chopped up
nettles, all in an attempt to add some organic matter to the soil and aid
drainage. We then added a mulch layer of cardboard and topped it all off with
some spoilt straw. We got four large raised beds and one smaller wild herb bed.
 |
| Drying dandelion flowers for tea |
We left the site to settle for four
weeks before we started adding seedlings which we started off in the
greenhouse. We have also been collecting lots of herbs and drying them out for
teas. So far we have had nettles, dandelion leaves and flowers, mint, lemon
balm, calendula, elder flower, and camomile.
 |
| A selection of herbal teas |
One of the most important things I
consider when starting a new garden is waste. I try my best to reduce the
amount of resources that leave the site. I constructed a twin compost bin in
our small garden at home and all of our organic waste is recycled there and
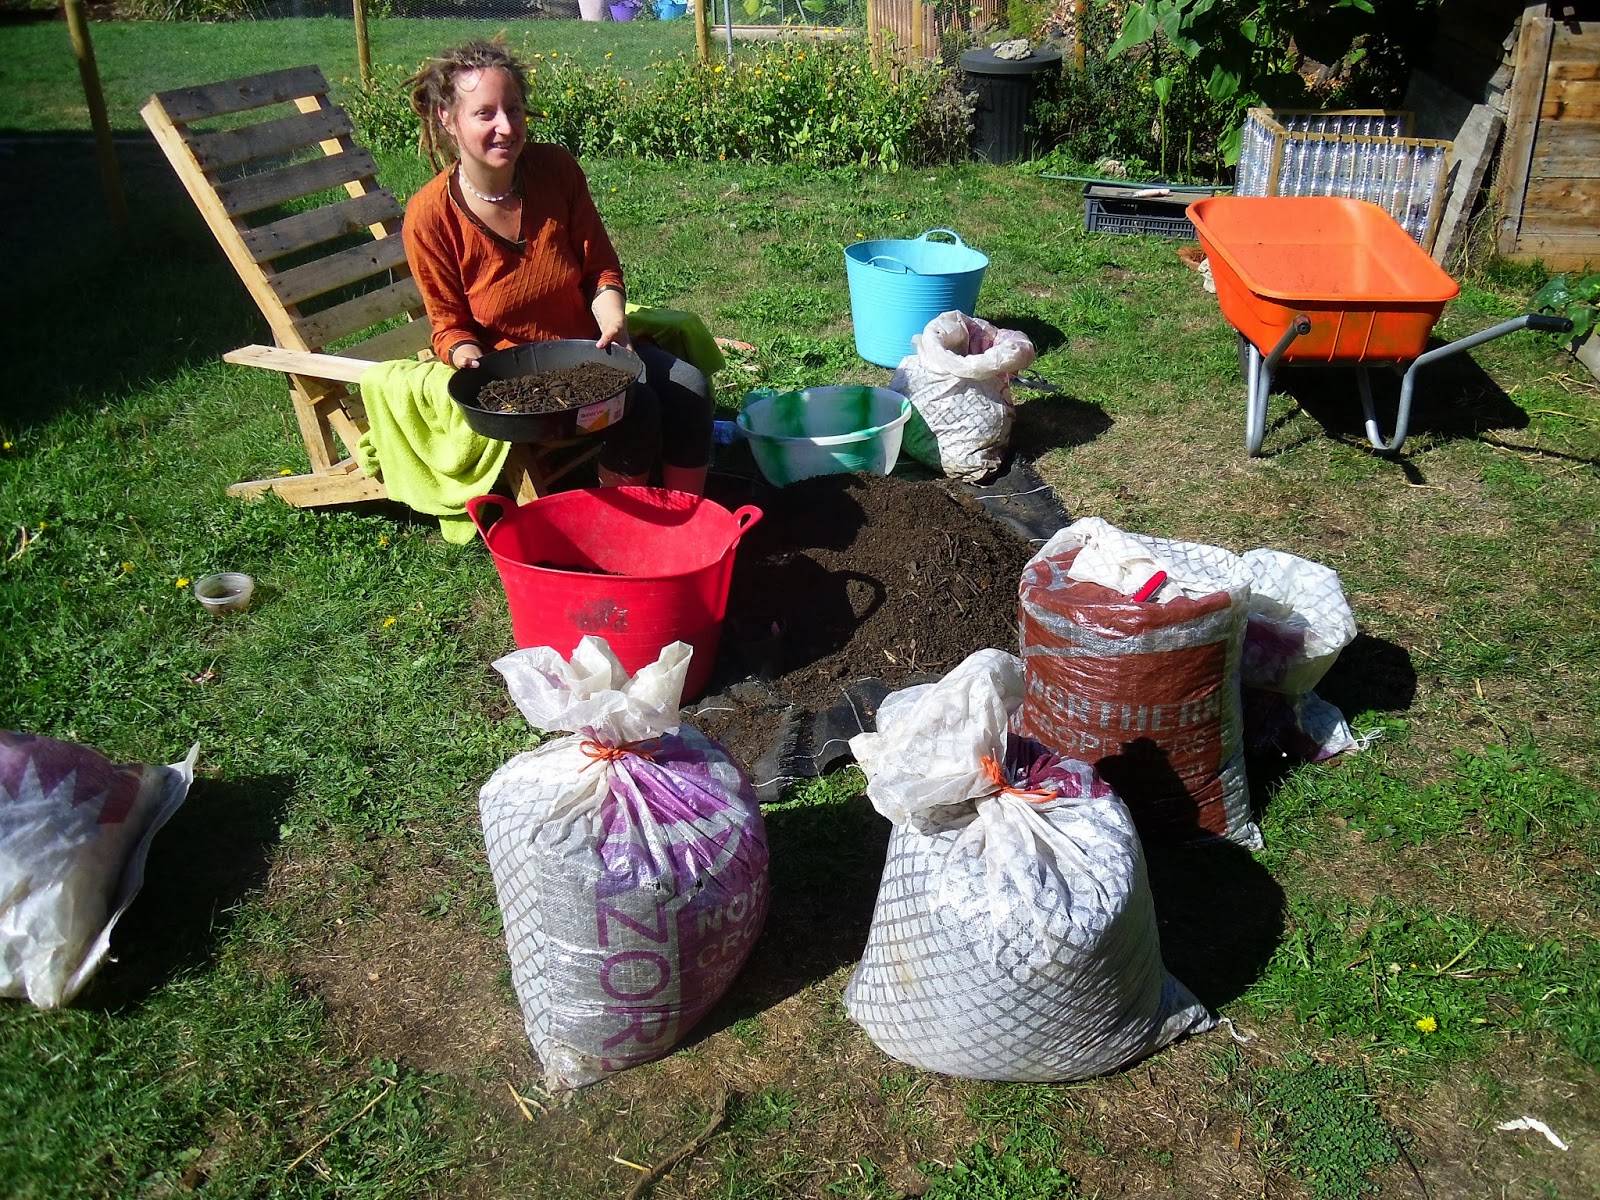
turned into high nutritious humus. We harvested our first batch of compost only
10 weeks after building up the pile. From approx. 1m3 of composting material
we managed to harvest three bags of good quality sieved compost (approx. 75lt
each bag) and three bags of course mulch. I am very pleased with these results.
I am always looking for ways to more efficiently deal with waste and I am
hoping to build a humanure composting bin at the allotment when we eventually
secure the next half of the site.
 |
| Sieving and bagging up compost |
We went to visit a small community
vegetable growing farm in Norwich a got inspired by the gardeners’ pallet
craft. I have been using pallets to build things for sometime but had not
branched out pass the odd bird house or path borders. I saw a beautiful pallet
chair at the farm and immediately started designing my own in my head. I built
one and it was very well received by my other half.
 |
| Pallet chair |
 |
| Pallet bench |
I then built a few bookshelves and a
small two seater pallet bench. It’s good fun working with pallets, turning what
would have been a waste product into something useful. I also use pallets to
make borders around the beds at the allotment.
 |
| Building bed borders |
It has been a great year for apples
and here in Norfolk there is no shortage of the lovely juicy fruit. We went out
apple picking and collected five sacks. We rented a small apple press and made
lots of juice and currently have about 60lt of cider brewing in the garage.
 |
| Washing apples |
 |
| Pressing apples |
 |
| Bottling apple juice |
We’ve got alot of work to do before we
get to where we hope to be. We’ve got ourselves a rocket stove and are now
working on building a small outdoor kitchen. We are also creating one more
growing bed in the garden and installing some woodchip paths around our new
home. Lots to do. I am hoping that most of these will be done over the winter
months which surprisingly tend to be my most productive time of year. I’ll keep
you posted in the progress.


 I've been having some problems down at the allotment. The garlics are all doing well, the potatoes are all up and looking healthy, and all of the comfrey root cutting I planted have taken. So what's the problem? There is a rodent terrorising the allotment. It's proven very difficult to grow anything from seed down at the allotment. I haven't been able to identify it yet but it looks like a mouse with very small ears and like burrowing. I thought it might be a type of shrew, but it does not have a pointed snout. It has eaten every one of the runner bean seeds I've planted and has been borrowing below the peas and damaging their root system in the process. So far the only real damage it's caused is eating the runner bean seeds. So I might be a little late on the runner bean front this season. We've also had some problems at the home garden. We have been visited regularly by a small wild rabbit. It likes dandelions and evening primrose and the occasion kale. It hasn't caused any major problems yet but I am considering setting some traps before it invites it's friends to the feast of fresh greens over the summer.
  Another pest that arrived in the home garden are aphids. There is an infestation on the mint which I planted in a large pot. The green aphids have infested the plant and have formed colonies on the new growth of the plant. I am planing to make up a natural remedy which I have used in the past and has been successful. First I remove as much as I can by hand, by simply rubbing the infected area with my thumb and forefinger, then I mix up a solution of 1lt of water, 2 or 3 crushed garlic and a dash of vinegar. I let that sit overnight and then add it to a spray bottle and treat the plant every week or so. It is important to note that it is best to stop treatment for at least two week before harvest. But only if you mind your herbs tasting of garlic.
  It hasn't been all dull and gloom though. As I mentioned before. The garlic, comfrey, and peas are all growing well at the allotment, some of the onions have made it through and seem to be winning the war against the slugs. Back in the home garden I have been sowing seeds regularly and I have just planted out the first set of tomatoes in the greenhouse and will be planting out more next week. This year I am trying tomatoes outdoors as well as in the greenhouse and I saved some scotch bonnet chilli seeds from some shop bought chilli and I'll be trying to keep at least one as a perennial plant. I am very excited about this possibility. I shall keep you updated on the progress.
 The land has been generous enough to present us with lots of gifts and one gift that I have been happy to receive recently has been courtesy of the local moles. I have been collecting mole hills and using the soil in my potting mixes, and filling up the raised beds. There seems to be an endless supply of mole hills and the soil, I find, excellent for earthing up potatoes when mixed with a little compost.
  Something else I am very excited about is making my own natural fertilizer.I am a big believer in feeding the organisms that live in the soil. I think that if I supply to the soil food web and keep the organisms healthy and thriving in turn they will feed the plants for me. And I am convince that they know how to look after plants better than I do since they've been doing it so well for so long. I read that plants prefer a slow release of nutrients over a long period rather than short bursts of high levels of nutrients. I know that some plants are great at storing high levels of nutrients in their leaves and so I have been gathering nettles, yarrow, comfrey and wild parsley from the area around where I live and adding them to a large container. I slightly crush the combination of leaves and then add rain water till all the leaves are submerged. I leave this to sit for about two weeks (stirring twice a day), then remove all the remaining leaf mass, leaving only liquid in the container (I sometimes pass the mixture through a Hessian sac to get more of the bits out). Then I get a old sock and fill it with fresh manure. I then tie the open end of the sock to a stick which I lie across the top of the container. This allows the manure filled sock to dangle down into the container without touching the bottom. I then fill the container all the way to the top with rain water and leave that to sit. The manure acts as a food source for beneficial bacteria allowing them to multiple and thrive in the liquid. The most important thing in order to get this right is to add oxygen/air to the mix as offer as possible. I have seen some people use a small electric pump, however I use a metal tube which I blow into every time I walk pass the container (which is very often, five time a day easy). Be warned, the mixture really stinks. I use the mixture by adding it to a watering can and watering the garden with it. The mix I use is 1 part fertilizer to 10 part water. I have been using this technique for three years and have not had any complains from my plants yet.
 One last thing I wanted to share here is propagating herbs. I was given a sage plant recently and I wanted to create more plants from it. The technique I used in the past for propagating herbs was to take softwood cuttings. This worked fine but it required a lot of monitoring. The technique I am using with this new sage plant is a technique called layering. It's simply taking a piece of the 'mother' plant and burying it in a small pot of compost without separating it from the plant. This means that I don't have to worry to much about the pot drying out or not or getting too wet as the 'child' plant is still being kept alive by the 'mother'. I would leave this like this for a few weeks and see if it takes root then I'll report back to you.